BrainVoyager QX v2.8
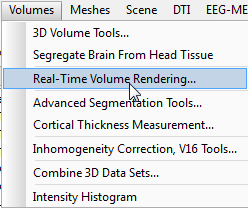
Real-Time Volume Rendering
The real-time volume rendering module (introduced in BrainVoyager QX 2.2) supports real-time navigation of rendered scenes in the same way as in the surface rendering module, e.g. it is possible to rotate and zoom rendered scenes easily using mouse and keyboard controls. The volume renderer can be invoked by clicking the Real-Time Volume Rendering item in the Volumes menu (see snapshot above). The creation of rendered views in a few 10th of milliseconds is achieved by exploiting the power of modern programmable graphics hardware. These modern graphical processing units (GPUs) consist of many parallel processing pipelines that are not only able to visualize information in a fixed way, but allow to execute a set of instructions in a similar way as standard computational processing units (CPUs). While standard CPUs are also adding increasing parallelism via multiple processor cores, the number of cores is usually small when compared to the hundreds of processing pipelines in modern graphics cards. Computational problems that can be sub-divided into many sub-problems of the same type benefit most from a programmable graphics pipeline. An essential component of volume rendering is the submission of rays from an image plane into a volume (raycasting): Instead of calculating the result sequentially ray by ray, programs written in a shading language can be stored on the GPU to execute multiple rays in parallel. This reduces the overall calculation time substantially, i.e. the overall raycasting problem is calculated about 100 times faster than CPU-based raycasting. In case that a computer does not have programmable graphics hardware, the volume rendering module will offer to run raycasting using standard CPU processing (see snapshot below) that may require a few seconds to calculate an image and, thus, does not allow real-time manipulation of the rendered scene. In case that BrainVoyager can not use GPU-based volume rendering, it tries to provide information about the specific missing graphics (driver) support in the Log pane. if a system only allows CPU-based rendering it is helpful to reduce rendering quality using various rendering options; for final snapshots, rendering quality should be set back to the default values (or better).
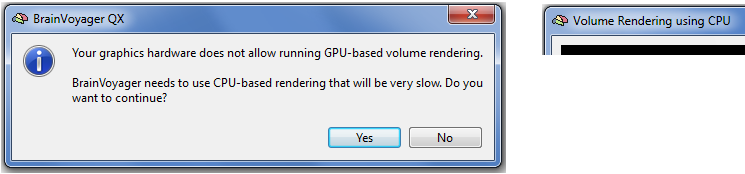
After a few seconds of preparation, the volume renderer will appear together with a rendered view of the currently active VMR from which the volume renderer was called. The title bar will indicate whether the renderer uses CPU- or GPU-based rendering (see snapshot on right side above that indicates CPU based rendering and snapshot below that indicates GPU-based rendering).
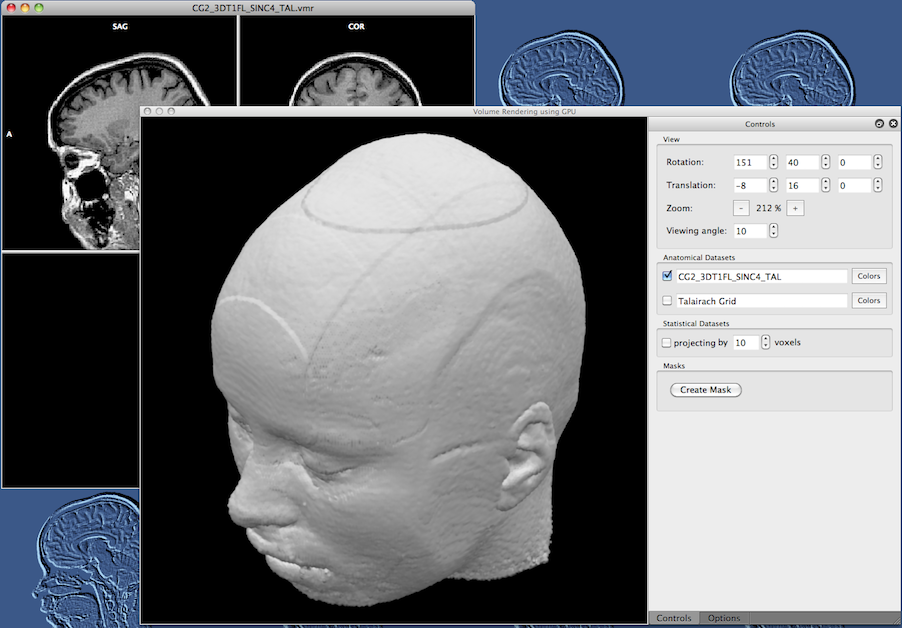
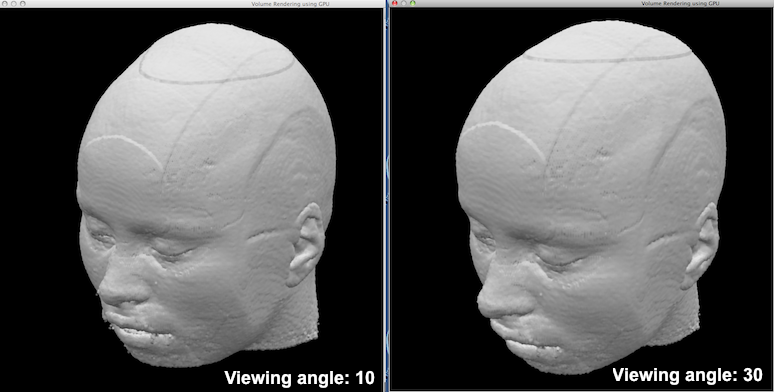
In the snapshot above, the "CG2_3DT1FL_SINC4_TAL.vmr" file is the active (only available) VMR and the volume renderer is displaying a rendered view of that volume in the Volume Rendering Window. The left side of the window contains the Render View and the right side of the window contains the Controls and Options panes; these panes are initially available as tabbed widgets but they can also made floated by clicking the undock button in the pane's title bar. The Translation and Rotation spin boxes in the View field in the Controls pane allows to navigate the viewpoint for the Render View with respect to the x, y and z axis. In case of GPU-based rendering, changing the value in a spin box will lead immediately to an update of the Render View reflecting the new viewpoint. More conveniently, one can click inside the Render View holding the left mouse button down while dragging left/right and up/down to perform rotation of the viewpoint. Holding down the right mouse button while dragging left/right and up/down will shift the viewpoint, i.e. the rendered volume is moved left/right and up/down. Holding down both left and right mouse buttons and dragging up/down will zoom in and out. Alternatively (e.g. for one-button mice), one may also combine left mouse button dragging with the Shift and Shift + Ctrl/Command key to enable translation or zomming, respectively. Note that the navigation logic is identical to the one implemented in the surface rendering module. The Viewing angle spin box can be used to render the scene with a more orthographic (small value) or more perspective (large value) viewing style. When rendering brains, a small value (1 - 10) is recommended while for rendering a head volume a larger value (around 30) produces nicer results; the snapshots below show a rendered head volume using the same viewpoint setting but with a different viewing angle.
The volume renderer allows to visualize multiple anatomical data sets using transparency and different color ranges. Furthermore, statistical maps can be rendered that have been overlaid on the VMR prior to calling the volume renderer. Furthermore, arbitrary slices through volumes can be visualized using intensity values as color information..Supra-threshold map voxels can be visualized on slices or at the surface of rendered volumes or by using transparency. Several rendering options including shadows ensure high-quality rendering output.
Copyright © 2014 Rainer Goebel. All rights reserved.