The default settings of volume rendering usually lead to good results. It is, however, possible to modify default settings in the Options pane that can be put in front by clicking the Options tab at the tab bar at the bottom part (you may also detach the Controls and Options pane from the Volume Rendering Window to see both panes at the same time). The Options pane consists of four major sub-fields, Rendering quality, Lighting, Raycasting and rendering and Ambient occlusion.

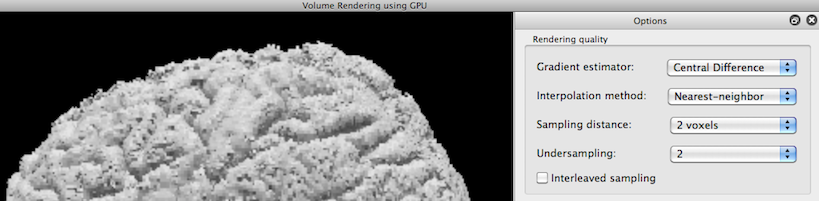
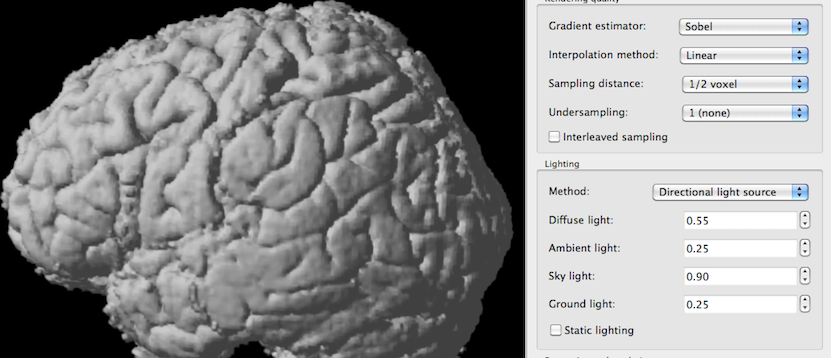
The Rendering quality field can be used to reduce the render quality to speed-up the time required for producing a rendered views. Changing these settings is recommended when using CPU-based volume rendering but not when using GPU-based rendering. The snapshot above shows rendering result of a brain volume when using default settings while the snapshot below shows rendering results when using low-quality settings. The Gradient estimator has been set from Sobel to Central Difference; the latter is an easier method to calculate a gradient using only direct neighbors of a voxel while the Sobel method uses more neighbors to produce more robust graident estimates. Calculating a gradient is important in volume rendering to obtain a normal vector for properly calculating light reflection (shading). The default Interpolation method is Linear, i.e. it uses a weighted sum of values from neighboring voxels to calculate the value at a sampling point falling in-between integral voxel coordinates. The Nearest-neighbor method used in the snapshot below simply uses the value from the closest voxel; while this method is faster, it produces more pixelated results. The Sampling distance specifies the distance between two sampling points; a higher distance means fewer sampling points, which makes rendering faster but it also increases the chance that important parts of the data are missed because they fall in between sampling points. Undersampling will skip rays in order to gain rendering speed and simply scales up the undersampled image to the size of the rendering image resulting in blurred images. When turning on the Interleaved sampling option, the starting points for the different rays are offset by a small amount. This can avoid moire effects in some cases; it has no effect on rendering speed.
The Lighting field allows to change the lighting method. There are two different methods available for illuminating the dataset. Selecting Hemisphere lighting (default) in the Method box enables an approach that tries to model the situation outdoors on a cloudy day assuming that there is mainly light coming from the hemisphere above and less intensive light coming from the hemisphere below; the Sky light spin box can be used to change the intensity of the light from above and the Ground light spin box can be used to change the intensity of the light coming from below. Selecting Directional light source in the Method box enables a lighting approach assuming one directed light source and one ambient light source that has the same intensity in all directions (simplified implementation of the Phong illumination model often used for 3-D graphics). The Diffuse light spin box can be used to change the intensity of the directed light source; note that the direction of light originates from a above/left/front source (see snapshot below) and can not be changed in the current release. The Ambient light spin box can be used to change the intensity of the non-directed light source. If the Static lighting option is enabled, the direction of the lights stays constant relative to the viewer when the viewpoint is changed using rotation. With static lighting the side of the rendered volume seen by the user is always illuminated properly. Static lighting reduces, however, the quality of rendering output since nearest-neighbor interpolation has to be used.
The Raycasting and rendering field allows to use a different rendering approach called maximum intensity projection (MIP) that is akin to an "X-ray" approach. If the Maximum intensity projection (MIP) option is turned on, rays are sent through the whole volume, i.e. they do not stop at boundaries, and the maximum intensity value detected along a reay is used to dermine the final value in the rendered image. The Intensity threshold value can be used to specify the minimum intensity value that is considered as containing anatomical data, i.e. rays will traverse through voxels with lower intensities than the specified intensity value treating them as transparent background.
The Ambient occlusion field allows to add nice shadow effects to a volume rendering. It also allows to add a plane below the rendered scene by checking the Draw floor option. Ambient occlusion works by sending rays in all directions from a voxel: If a ray hits another object that ray will not increase the shaded value while rays that are not blocked by other objects (i.e. they reach "the sky") increase the shaded value of a voxel; in effect, lighting is attenuated based on the occlusion by other objects.
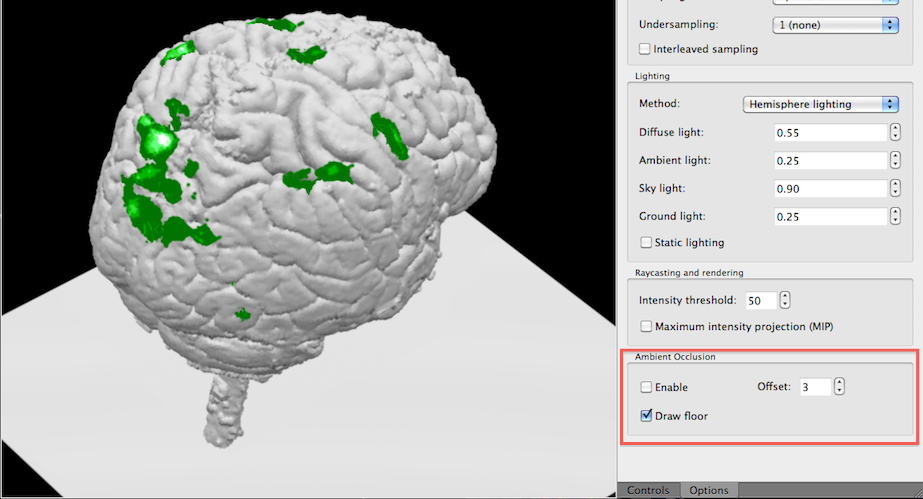
In the snapshot above, the floor plane has been enabled but ambient occlusion has been turned off (default).In the snapshot below, the ambient occlusion (shadow) effect has been turned on. While shadows are also visible on the floor plane, the shadows calculated on the brain volume are more interesting since they add substantial realism to volume rendering results.
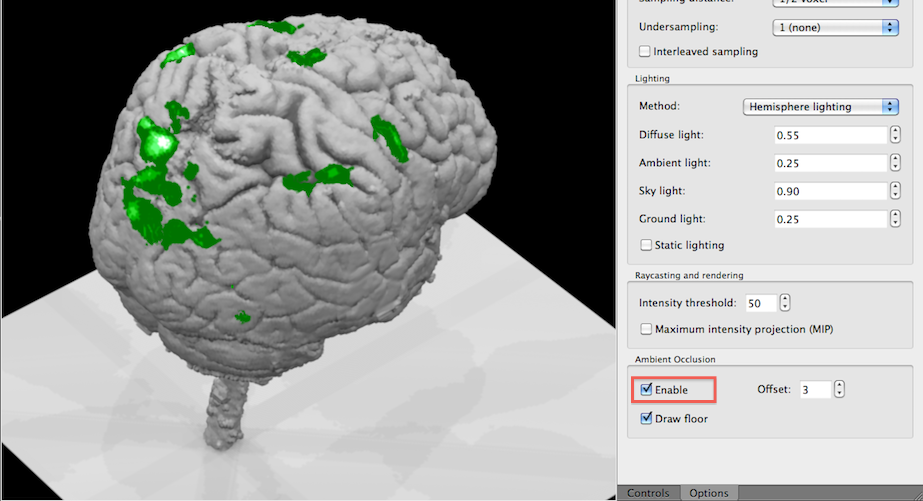
Note that it will take several seconds until ambient occlusion is turned on since it requires a lot of internal preparatory calculations.
Platform-specific notes. Static lighting does not work at present on the Mac platform.